SUPER SIZE – The Math
How to change the size of any traditionally pieced quilt block.
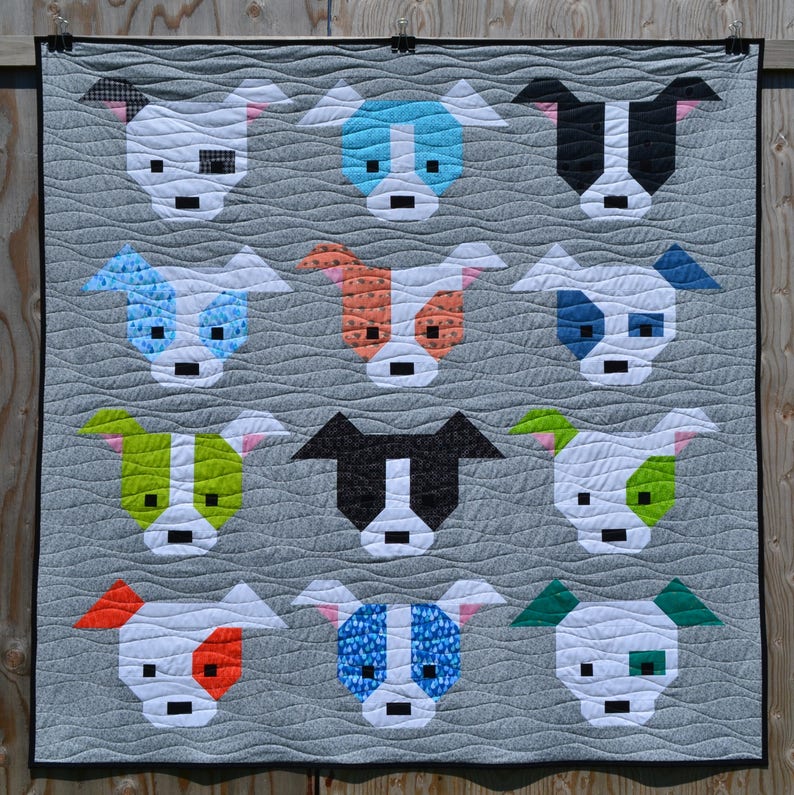
Over the years, there have been a few occasions where a quilter has written to ask how to double the size of a block, as in the case of the Dog Block from the Dog Gone Cute design.
The Dog Gone Cute design was my second Quilt Along.
It had originally offered the Dog Block in 2 sizes.
SMALL BABY Dog Blocks finished at 9” x 6”.
MEDIUM MAMA Dog Blocks finished at 18” x 12”.
At the time of it’s release back in 2015, mini mini quilting was ALL THE RAGE!!!
So sewing tiny was the aim.
This was my first finished Dog Gone Cute project. It’s the mini size version of the pattern.
Finishing at 30″ x 30″ using 12 of the small size blocks, these little pups were made using Kona Ash for the background. Two fat quarters easily provided for 6 pups from each fat quarter. These small size blocks finish at 9″ x 6″.
This was my second Dog Gone Cute project. It’s the mama size version of the pattern.
Quilt finished at 60″ x 60″ using 12 of the mama size blocks that finish at 18″ x 12″.
And one mini size Baby block was used to make a pillow to match the Mama!
Sometime during 2017, people came to their senses. Requests for a larger version were made. Now the Dog Block also includes LARGE PAPA Dog Blocks that finish at 36” x 24”.
It’s fun to see the size comparison!!!
Just always keep in mind, when you double the size of a block, you are actually doubling the size in each direction. Therefore, 4 SMALL blocks laid out in a four-square pattern are the same size as the MEDIUM blocks. And likewise, 4 MEDIUM blocks are the same size as the LARGE block.
And then there have been a few occasions where a quilter has taken one of my blocks, done the math THEMSELVES to double the size of the block, and then proudly displays their SUPER SIZED masterpieces!!! I LOVE to see people using their creativity…..
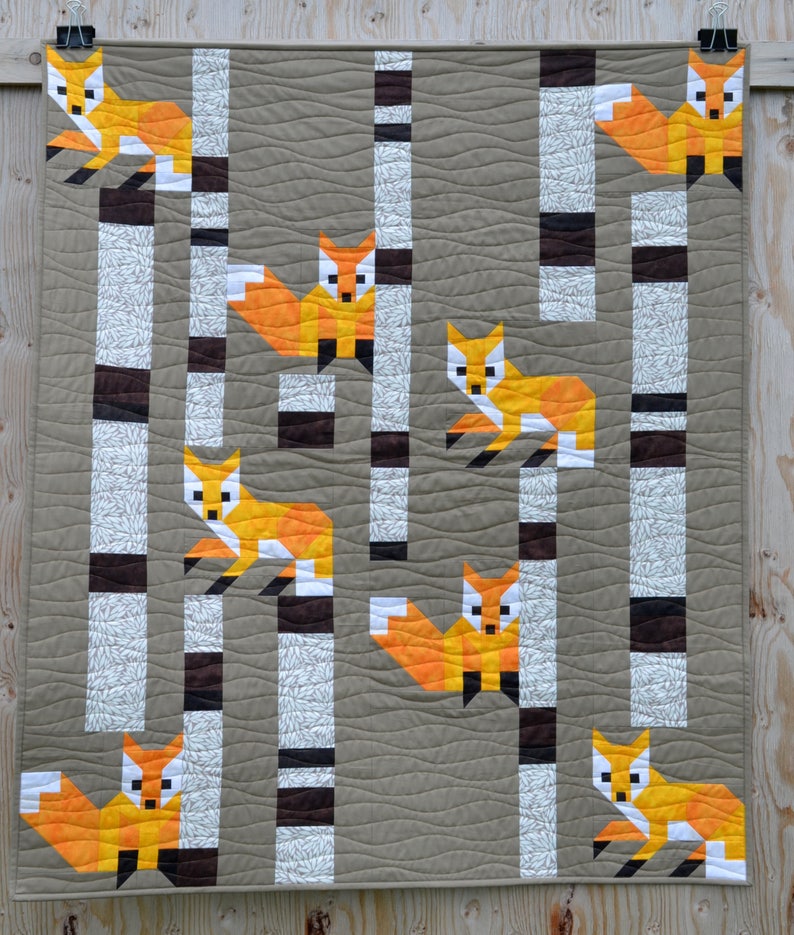
This SUPER SIZE Math post was inspired because I recently viewed this SUPER SIZE, super CUTE, baby quilt made by Melissa Marginet and shared on Instagram by walking.foot.quilting.designs. Melissa increased the size of these Fox blocks to make a quick, cute finish in solids!
The Fox Blocks were originally designed for the Forest Friends pattern back in 2015.
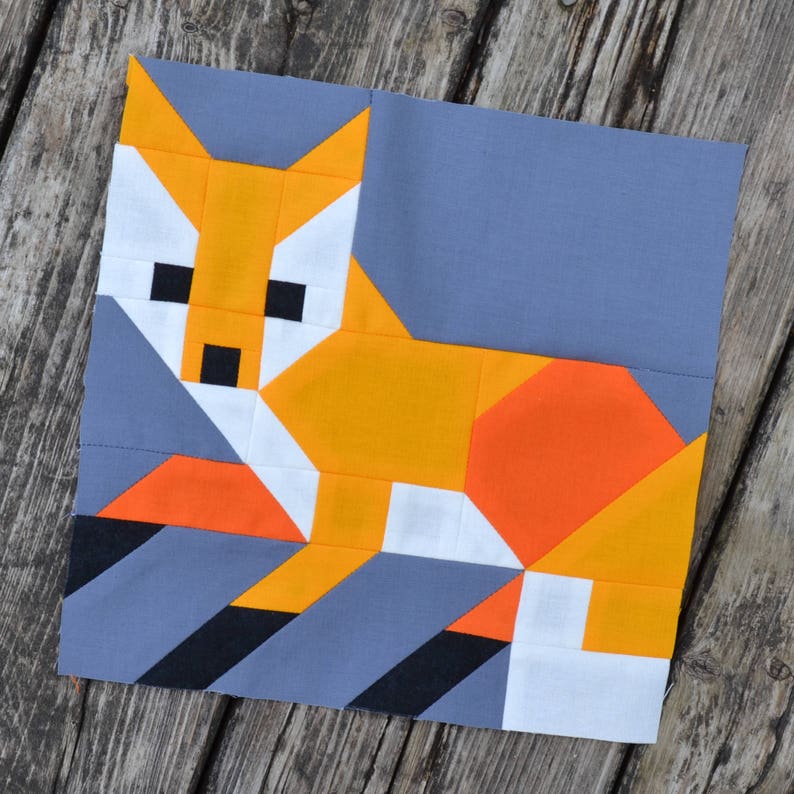
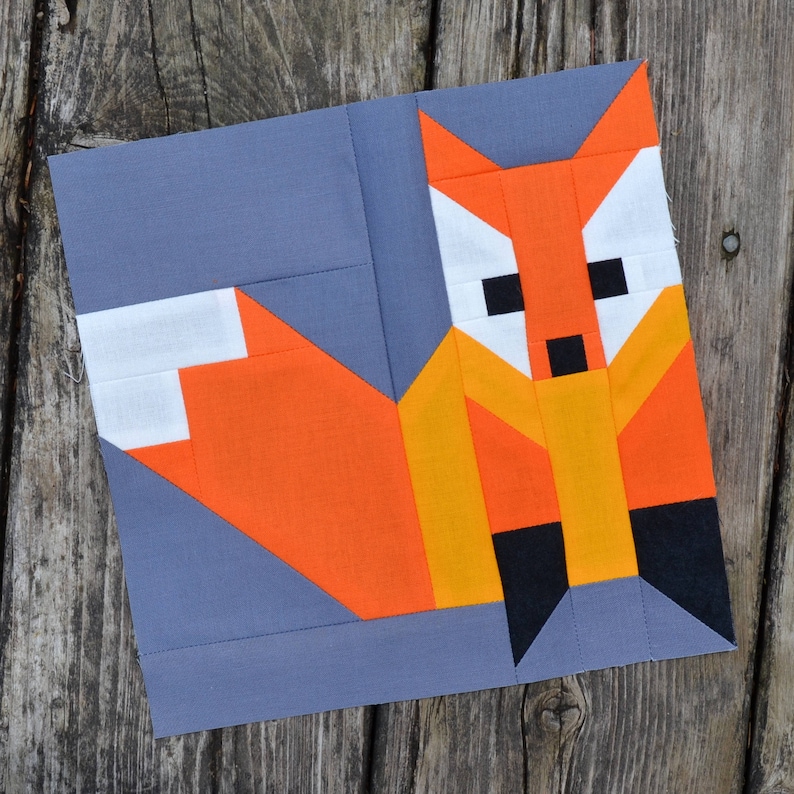
SMALL finishes at 8″ square and LARGE finishes at 16″ square.
These Fox Blocks were incorporated into this design, Fox among the Birches, in 2017.
Likewise, Fox among the Birches Quilt Pattern has been updated to allow 2 Quilt Sizes. SMALL finishes at 38″ x 45″ or LARGE finishes at 76″ x 90″.
Depending on the size of your baby…
A few thoughts of my own….
Although I do enjoy the challenge of tiny piecing…
And it is a great way to test a block to make sure it will be easy enough to piece in a double size….
Sometimes we just aren’t in the mood for tiny pieces.
They can be frustrating.
Especially if you have big PHAT fingers like mine!!!
Super trusty needle nose tweezers are my constant side kick.
Working recently on the Koala and Kangaroo patterns has also reminded me that a post like this was a long time in coming. I designed the original Koala Love Quilt Pattern block size to finish at 14″ square.
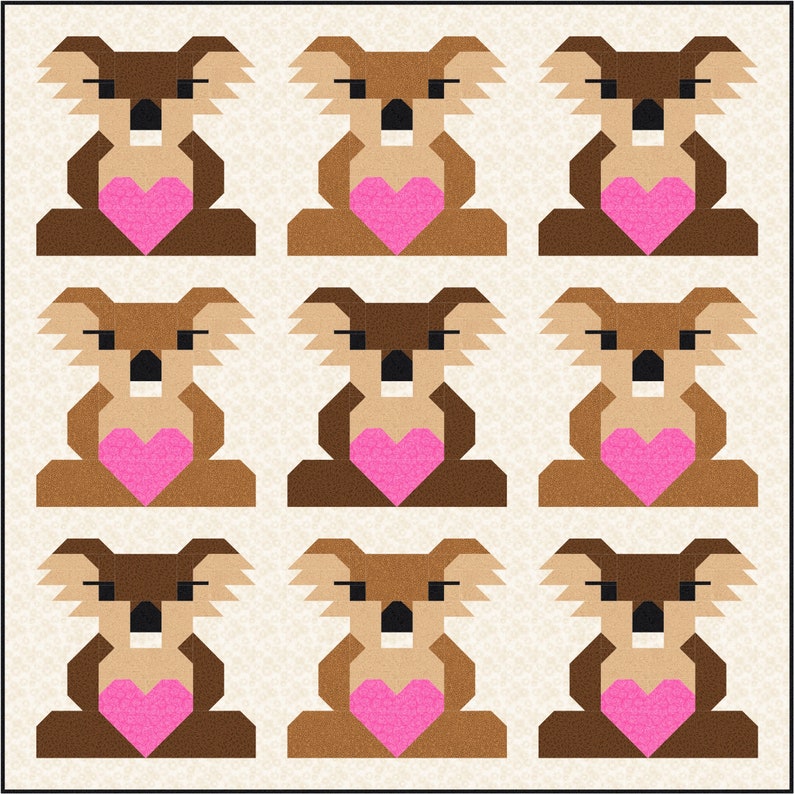
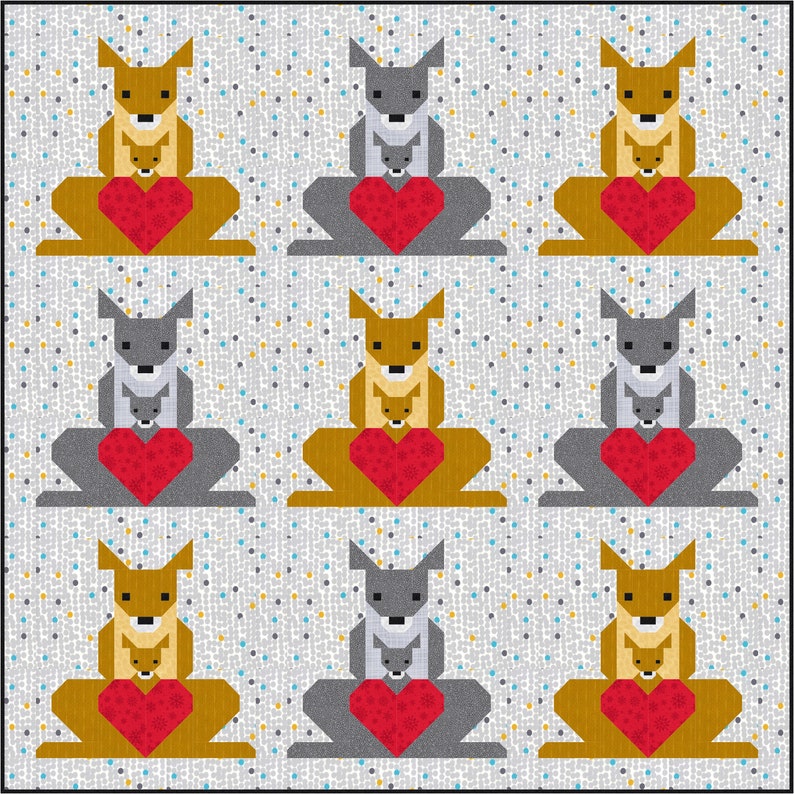
When I announced the Kangaroo & Joey2 pattern, that would also finish at 14″ square, but would include the little Joey in the Mama’s pouch, there was a request for a half size block of the Koala to be made to match.
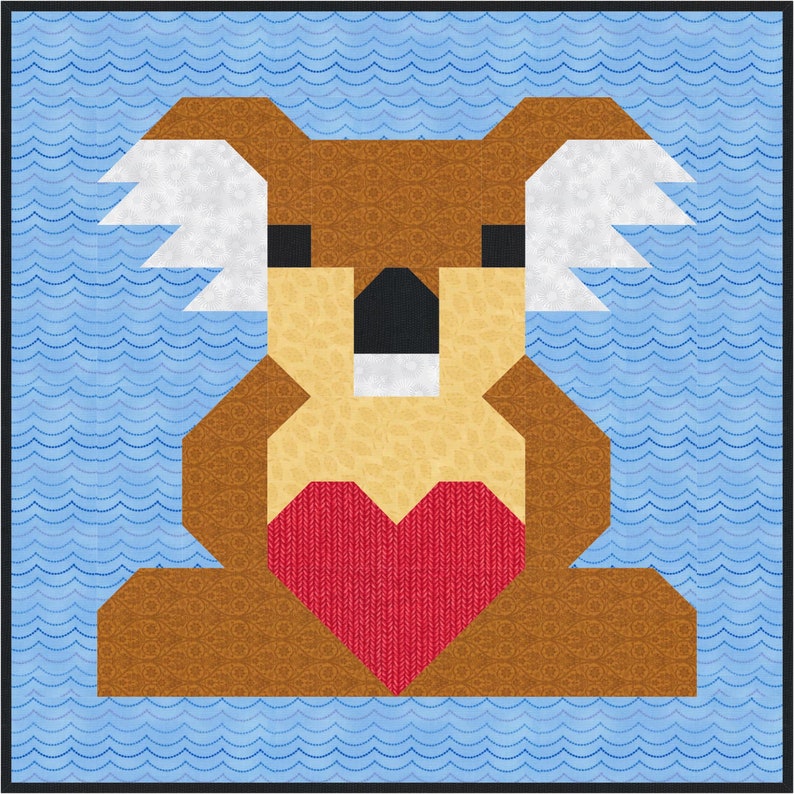
So I released this Mini Mama & Baby Koala Block pattern.
After all the tiny piecing I have been doing, I am looking forward to some SUPER SIZE.
AND SOMETIMES WE ARE IN A HURRY!!!!
Last minute invite to a baby shower?
Whip up a couple of SUPER SIZED blocks and you’ve got yourself a quick and easy finish.
As soon as you get it basted and quilted, that is.
LOOKING for other SUPER SIZED blocks?
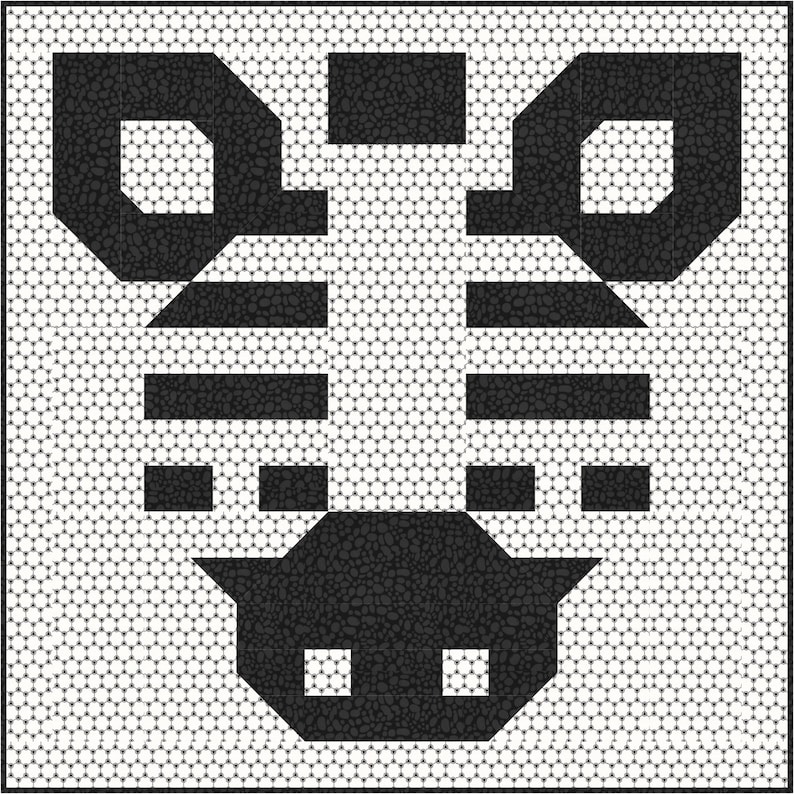
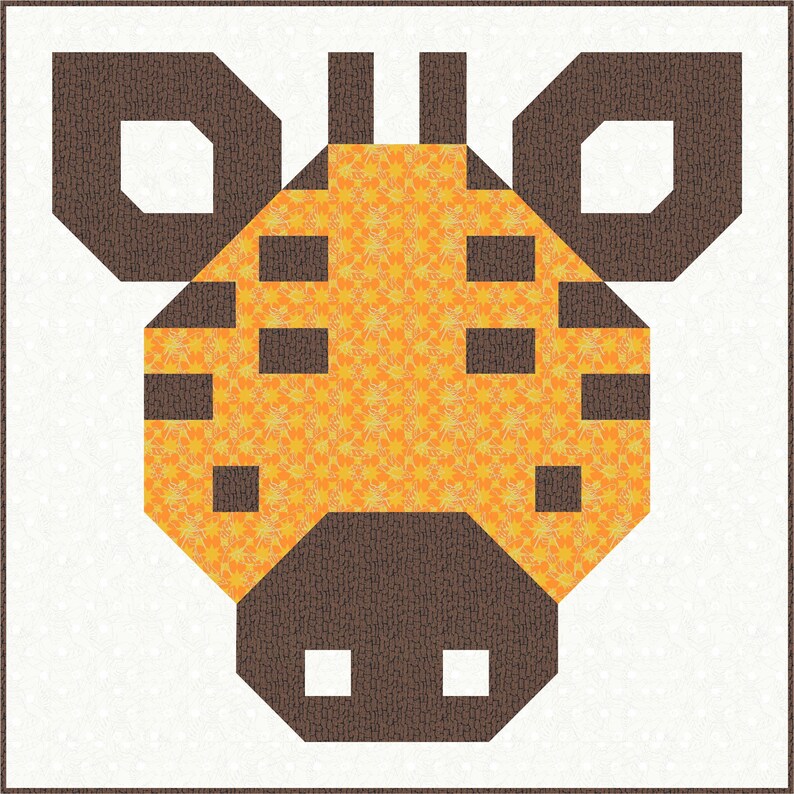
BIG PHAT ZOO includes BOTH a Zebra and Giraffe.
Quilt Blocks finish at 30″ or 60″ square.
Quilt Finishes at 34″ or 68″ square.
BABY Quilt size is perfect for a tummy time baby play mat! And yet….. BIG Quilt Size is perfect for an adult to use while napping on the couch!
Quilt Blocks finish at 30″ or 60″ square.
Quilt Finishes at 34″ or 68″ square.
BABY Quilt size is perfect for a tummy time baby play mat! And yet….. BIG Quilt Size is perfect for an adult to use while napping on the couch!

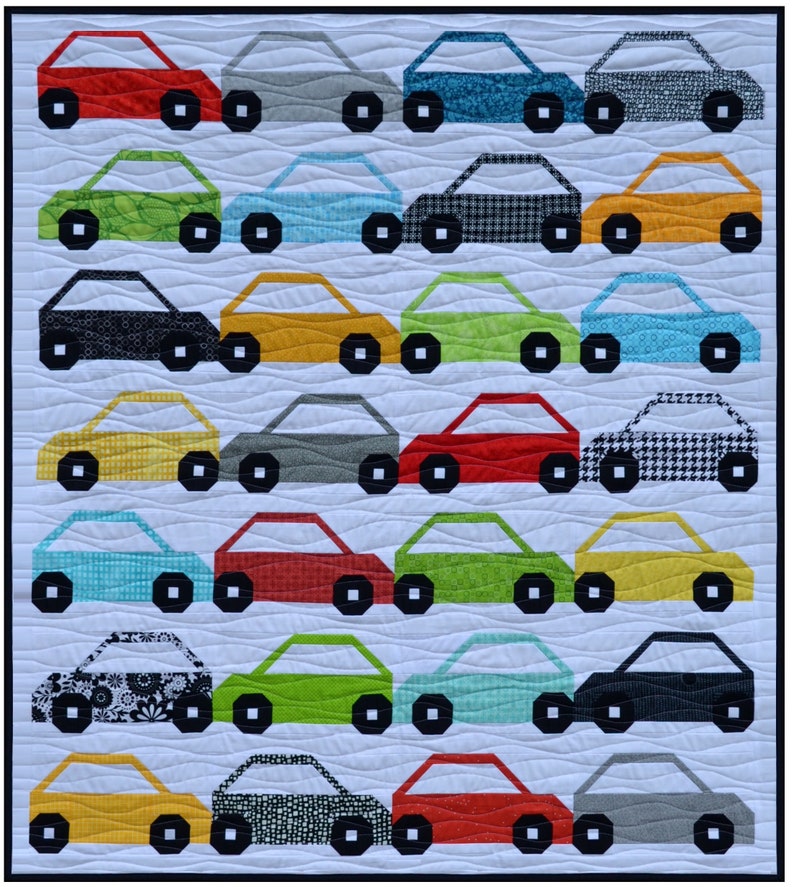
BUMPER2BUMPER provides instructions for making:
SMALL Car blocks finish at 5” tall by 9” wide
LARGE Car blocks finish at 10″ tall by 18″ wide
BABY quilt finishes at 38″ x 43″
TWIN quilt finishes at 76” x 86”
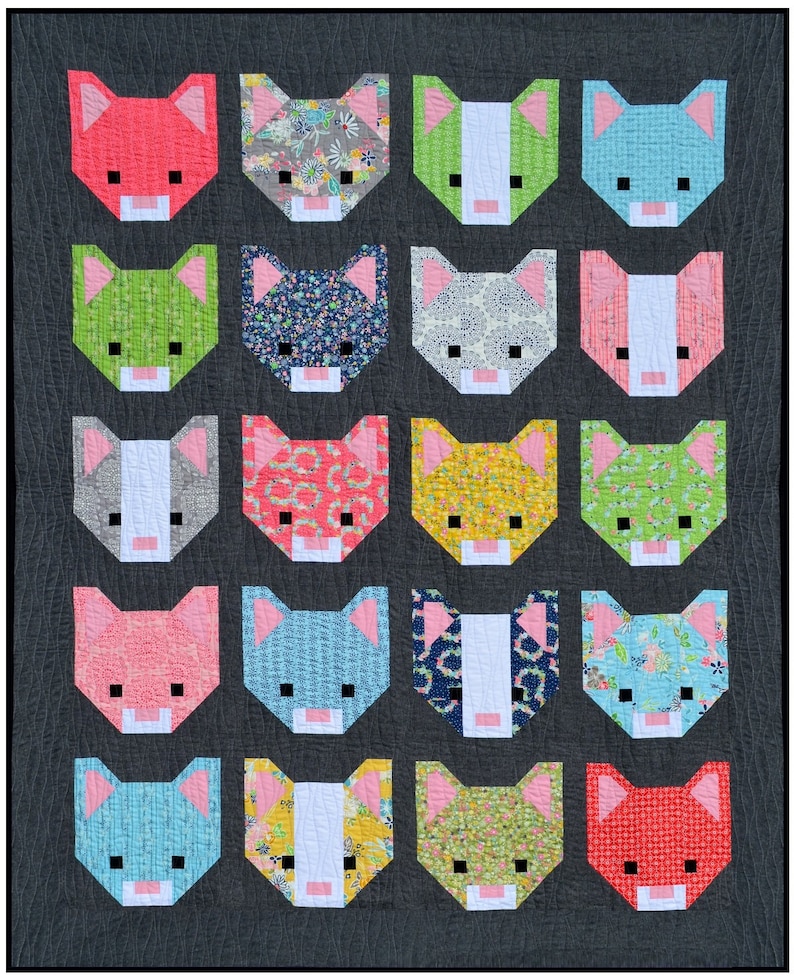
SMITTEN KITTEN provides instructions for making:
7 different Quilt settings ranging in size from 15″ to 78″ square.
SMALL blocks finish at 6″ x 6″
LARGE finish at 12″ x 12″

FOX NAPPING provides instructions for making:
SMALL blocks finish at 10″ tall x 18″ wide
LARGE blocks finish at 20″ x 36″
SUPER SIZED – The Math
Let’s take a look at the Fox#1 block cutting chart.
SMALL finishes at 8″ square and LARGE finishes at 16″ square.
|
Fox #1
|
8” Block
|
16” Block
|
|
|
Back-
ground
|
B
|
1 @ 1.5” x 3.5”
|
1 @ 2.5” x 6.5”
|
|
M
|
1 @ 2.5” square
|
1 @ 4.5” square
|
|
|
Y
|
1 @ 2.5” x 3.5”
|
1 @ 4.5” x 6.5”
|
|
|
Z
|
1 @ 2.5” x 4.5”
|
1 @ 4.5” x 8.5”
|
|
|
N
|
1 @ 3.5” x 5.5”
|
1 @ 6.5” x 10.5”
|
|
|
Q
|
3 @ 1.5” squares
|
3 @ 2.5” squares
|
|
|
Medium
Brown
|
P
|
1 @ 3.5” square
|
1 @ 6.5” square
|
|
S
|
1 @ 1.5” x 3.5”
|
1 @ 2.5” x 6.5”
|
|
|
T
|
1 @ 1.5” X 2.5”
|
1 @ 2.5” X 4.5”
|
|
|
White
|
D
|
2 @ 1.5” x 2”
|
2 @ 2.5” x 3.5”
|
|
E
|
1 @ 1” x 2.5”
|
1 @ 1.5” x 4.5”
|
|
|
H
|
7 @ 1.5” squares
|
7 @ 2.5” squares
|
|
|
J
|
2 @ 1.5” x 2.5”
|
2 @ 2.5” x 4.5”
|
|
|
Black
|
F
|
2 @ 1” x 2.5”
|
2 @ 1.5” x 4.5”
|
|
V
|
1 @ 1.5” square
|
1 @ 2.5” square
|
|
|
X
|
1 @ 1.5” x 2.5”
|
1 @ 2.5” x 4.5”
|
|
|
W
|
1 @ 1.5” x 3.5”
|
1 @ 2.5” x 6.5”
|
|
|
Light
Brown
|
A
|
8 @ 1.5” squares
|
8 @ 2.5” squares
|
|
C
|
1 @ 1.5” x 2.5”
|
1 @ 2.5” x 4.5”
|
|
|
G
|
1 @ 1.5” x 3.5”
|
1 @ 2.5” x 6.5”
|
|
|
K
|
1 @ 1” x 1.5”
|
1 @ 1.5” x 2.5”
|
|
|
L
|
2 @ 0.75” x 2.5”
|
2 @ 1” x 4.5”
|
|
|
O
|
1 @ 2.5“ x 3.5”
|
1 @ 4.5“ x 6.5”
|
|
|
R
|
1 @ 2.5” square
|
1 @ 4.5” square
|
As you can see, Background (B) is 1.5″ x 3.5″ for the SMALL blocks and 2.5″ x 6.5″ for the LARGE blocks. To double the size of the SMALL (B), first we must minus the seam allowance. Our seam allowance for traditional piecing is 1/4″. This seam allowance is found on each side of (B). So the total seam allowance is 2 sides = 2 x 1/4″ = 1/2″
Subtract the 1/2″ seam allowance,
Multiply by 2,
Add the 1/2″ seam allowance back on.
For example:
SMALL Background (B) is 1.5″ x 3.5″
Subtract the 1/2″ seam allowance:
(1.5″ minus 1/2″ = 1″) x (3.5″ minus 1/2″ = 3″)
1″ x 3″
Multiply by 2:
(1″ multiply by 2 = 2″) x (3″ multiply by 2 = 6″)
2″ x 6″
Add the 1/2″ seam allowance back on:
(2″ plus 1/2″ = 2.5″) x (6″ plus 1/2″ = 6.5″)
LARGE Background (B) is 2.5″ x 6.5″
To make a block smaller, you would do the same process, but use division to make the size smaller, rather than multiplication to make it larger.
For example:
LARGE Light Brown (L) is 1″ x 4.5″
Subtract the 1/2″ seam allowance:
(1″ minus 1/2″ = 1/2″) x (4.5″ minus 1/2″ = 4″)
1/2″ x 4″
Divide by 2:
(1/2″ divided by 2 = 1/4″) x (4” divided by 2 = 2″)
1/4″ x 2″
Add the 1/2″ seam allowance back on:
(1/4″ plus 1/2″ = 3/4″) x (2″ plus 1/2″ = 2.5″)
SMALL Light Brown (L) is 0.75″ x 2.5″
EXCITING NEWS FOR 2020!!!
Come join me in My Sewing Room!
Please join us at our NEW Facebook Group – Sew Along with Sew Fresh Quilts!!!
Anyone can become a member of the group. Sew along with us and share your own Facebook posts! I wanna see what you’re working on!
PS. LOOKING for NEW blog post material!!!
If there are other blog post subjects you would like to see explored, please leave me a comment or send me an email to make a suggestion. YOU inspire me!!!
Happy Stitching!
Keep On Quilting On!






What great tutorial. It is not easy for me to see how to make a quilt larger. Perfect!
Thank you so much for this tutorial Lorna. In my mind I know what to do but somehow it doesn't end up that way on paper. This will be so helpful to resolve my problem. 🙂
Great reminder Lorna. I always forget to subtract the seam allowance before I change the size of things- which leads to frustration. Hopefully, this info will sink into my brain. Love the 2020 designs you've previewed!
A while back, I made a spreadsheet that does the math for you on this if you would like to share it with your readers: https://docs.google.com/spreadsheets/d/1HZJuaUp6htPzapcmNwrKhlB393l3TGmumAZ7RXmHdZg/edit?usp=sharingI hope the instructions make sense. 😀
This is so very helpful! I'm all about the PHAT! I mean, sometimes bigger is better! Your blocks are so adorable…and I really appreciate the big ones, quicker sewing means I can make more! ha! Thanks Lorna!
I love super sized!! Thanks for sharing the tips.
Wow! Thank you for the tutorial and I hope you plan to add it to you tutorial page. I see there is another chart in the comments, and I will be using it as well. Since I don't have EQ and am still learning computer stuff, I appreciate all the help I can get. I love your direction of big and little, mama and baby, marsupials and amphibians… Wishing you a Happy New Year!
Hi Lorna! What a great post this is. It should be an easy thing, to change the size of any block. In theory, anyway. Plus, it IS Math after all . . . and that can outwit the best of us sometimes. I really enjoyed reading all of this and seeing your patterns evolve over the years. Thank you! I just may need that zebra/giraffe pattern. I'm hoping to hear we're expecting again soon and I think a zebra theme would be adorable. Don't you??! ~smile~ Roseanne